How to perform a bare-metal restore with Windows Backup
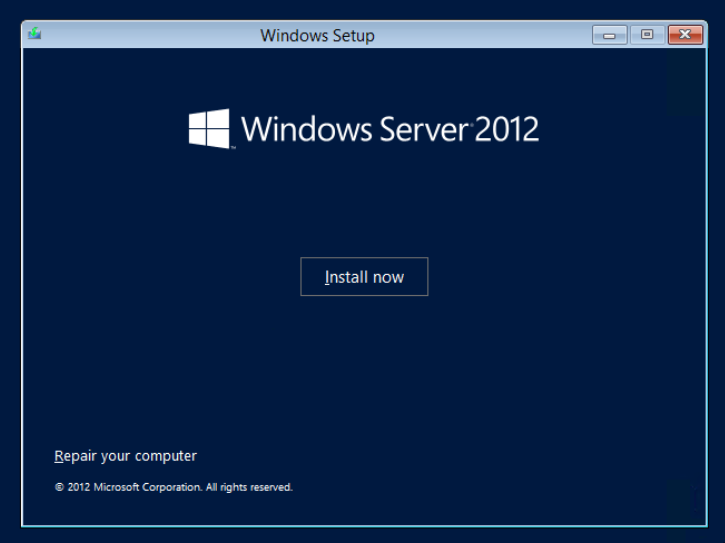
Ensure you have the correct version of the Windows installation ISO which matches the version in your backup, eg. A Windows 2012R2 ISO will NOT be able to restore a Windows 2012 backup image!
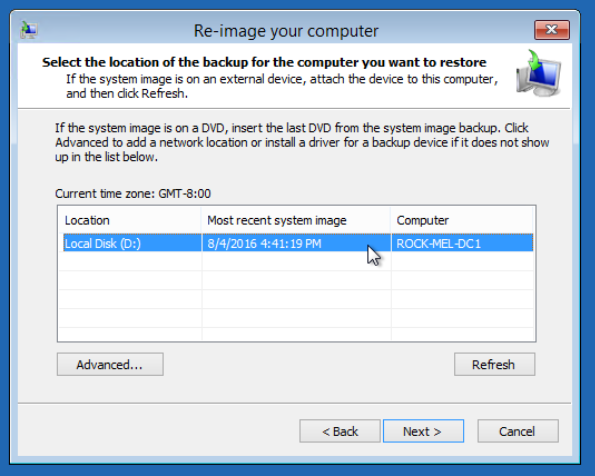
Ensure the WindowsImageBackup folder that contains the backup image is available to the VM, either through a local disk OR UNC path (note that hidden shares are NOT supported)
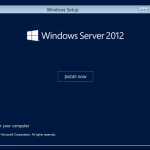
Boot from the Windows ISO
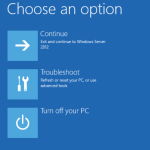
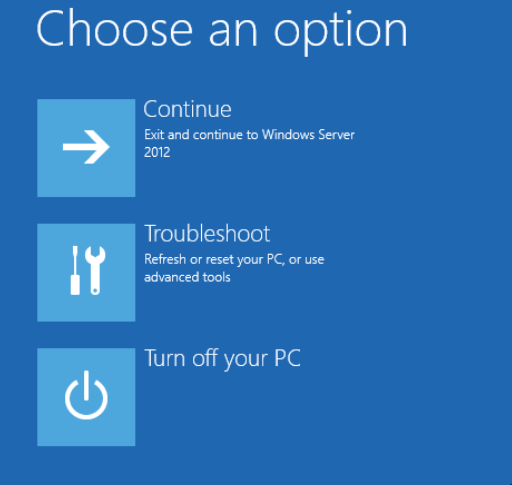
Choose “Repair your computer”
Choose “Troubleshoot”
If you are restoring from a UNC path, first open a command prompt and type “wpeinit” to load networking. Wait until ipconfig gets an IP address from DHCP before typing “exit” and continuing with this process
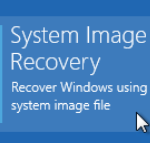
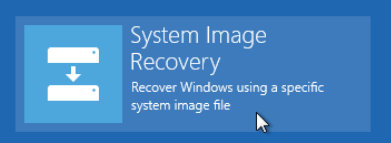
Choose “System Image Recovery”
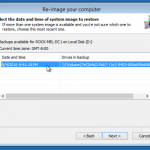
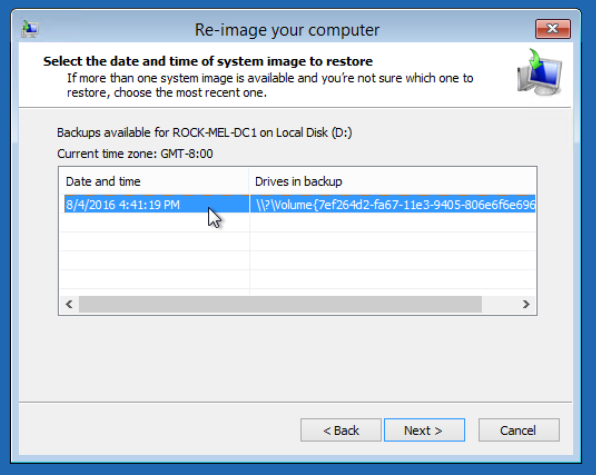
Browse to and select the backup to restore
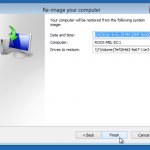
Select the date and time of the backup (typically the latest will suffice)
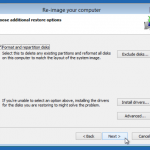
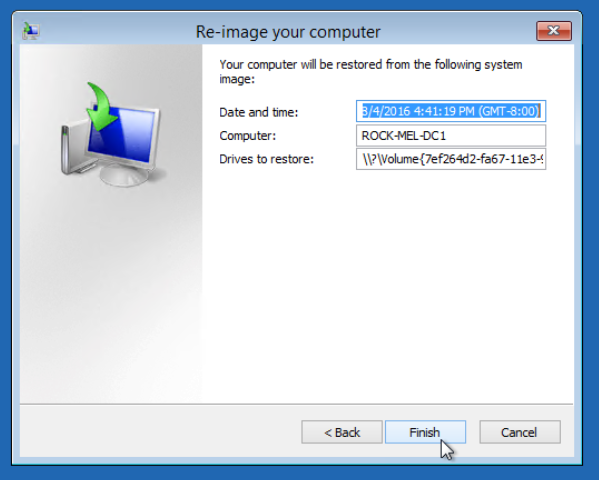
Choose “Format and repartition disks”
Confirm the process by choosing finish
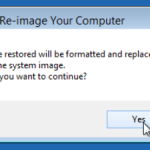
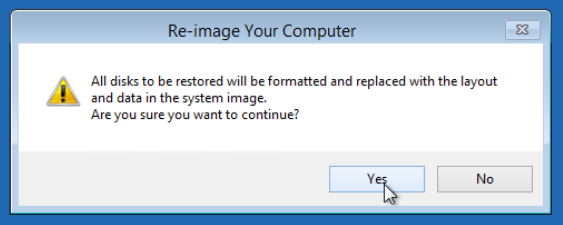
Confirm that you want to wipe the destination disk and replaced with the backup image
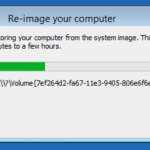
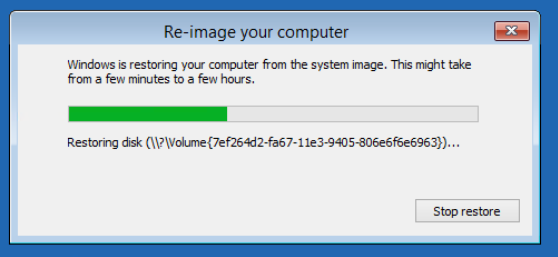
The restoration process will begin
The restore should complete successfully
Further steps are to ensure the system boots correctly