We don’t recommend using this method to capture exchange. Instead, use our machine backup service. Contact our sales for more information about machine backup.
This article is for setting up a mail-level exchange mailbox job and does not provide exchange EDB disaster recovery. To achieve a complete exchange backup, please refer to the best practice guide on how to setup an exchange disaster recovery backup job.
Prerequisites
- Ensure that the domain user account being used to configure and run the backups:
- has an enabled exchange mailbox
- is part of the following security groups:
- Exchange Servers
- Exchange Windows Permissions
- Install the Microsoft exchange MAPI tools from http://www.microsoft.com/en-us/download/details.aspx?id=6248
Process
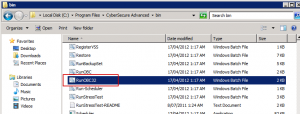
- Open CyberSecure Advanced in 32-bit mode by running “RunOBC32.bat” under the “bin” folder in the installation path
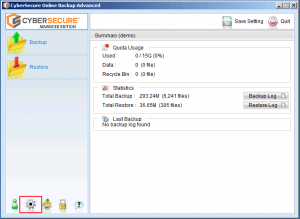
- Go into the Settings
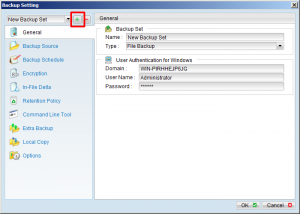
- Create a new backup set by using the plus (+) button
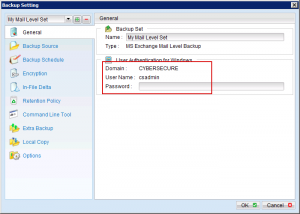
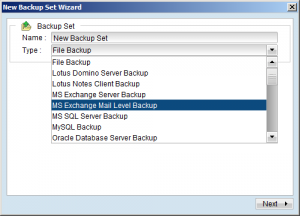
- Label the backup set with something descriptive and choose the “MS Exchange Mail Level Backup” type
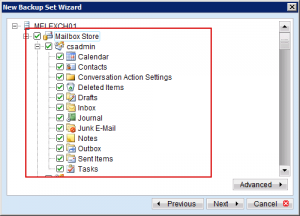
- Select the mailboxes + items that you’d like to protect.
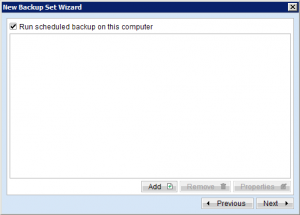
- Set the schedule. If you are seeding the backup onto USB drive, be sure to REMOVE any schedules to prevent the automatic backup from replicating offsite.
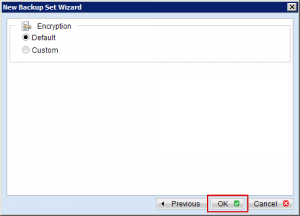
- Next up are the encryption settings.
Our recommendation is to leave the encryption settings at their defaults, which will use your account login password as the encryption password. Once the encryption password is set the only way to change it is to recreate the backup set.
- The backup set should have been created successfully.
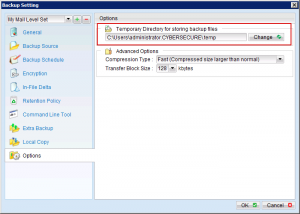
- The final step is to modify the temporary spooling location. This location must have enough free space to hold this entire backup set for the duration of the backup.
We recommend putting this onto a fast local disk with plenty of capacity. - Click into the “Options” section on the left sidebar.
- If the following warning appears:

- Click into “Options” on the left-sidebar
- Change the “Temporary directory for storing backup files” location to an area with enough free capacity to hold this entire backup set
- Click OK back to the main console
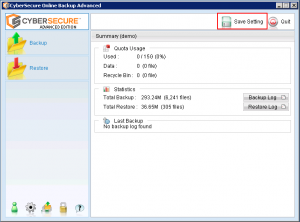
- Save settings to the server
- If data seeding is to be done for mail-level backups, it needs to be done within the 32-bit instance and following the normal seeding process.
